I think that one of the strengths of the build and release system in Visual Studio Team Services (VSTS) is the large variety of tasks that is available. If you ever want a task that does something that the default tasks can’t do, chances are high that someone else has made a task for just that purpose already, and that it’s ready to be installed from the Visual Studio Marketplace.
But sometimes you might be out of luck, and you have to make the work yourself. What now?
Create Task Groups
The easiest way to create a reusable task is to create a Task Group from an already configured tasks in a build or release definition. You create a task group by selecting one or many tasks, right clicking, and selecting Create task group.
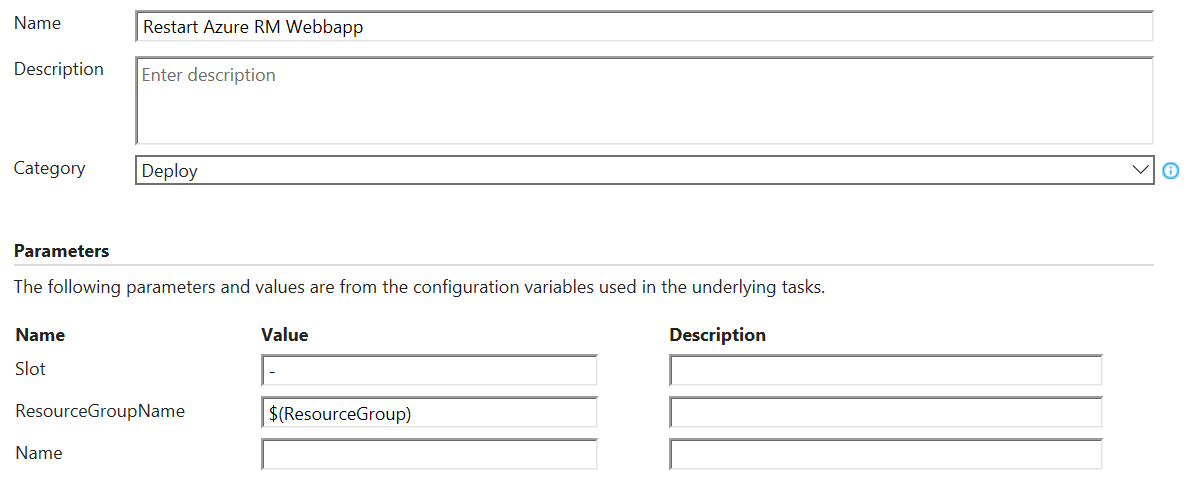
Here is an example of a task that I’ve made that is made up of a single Azure PowerShell task.
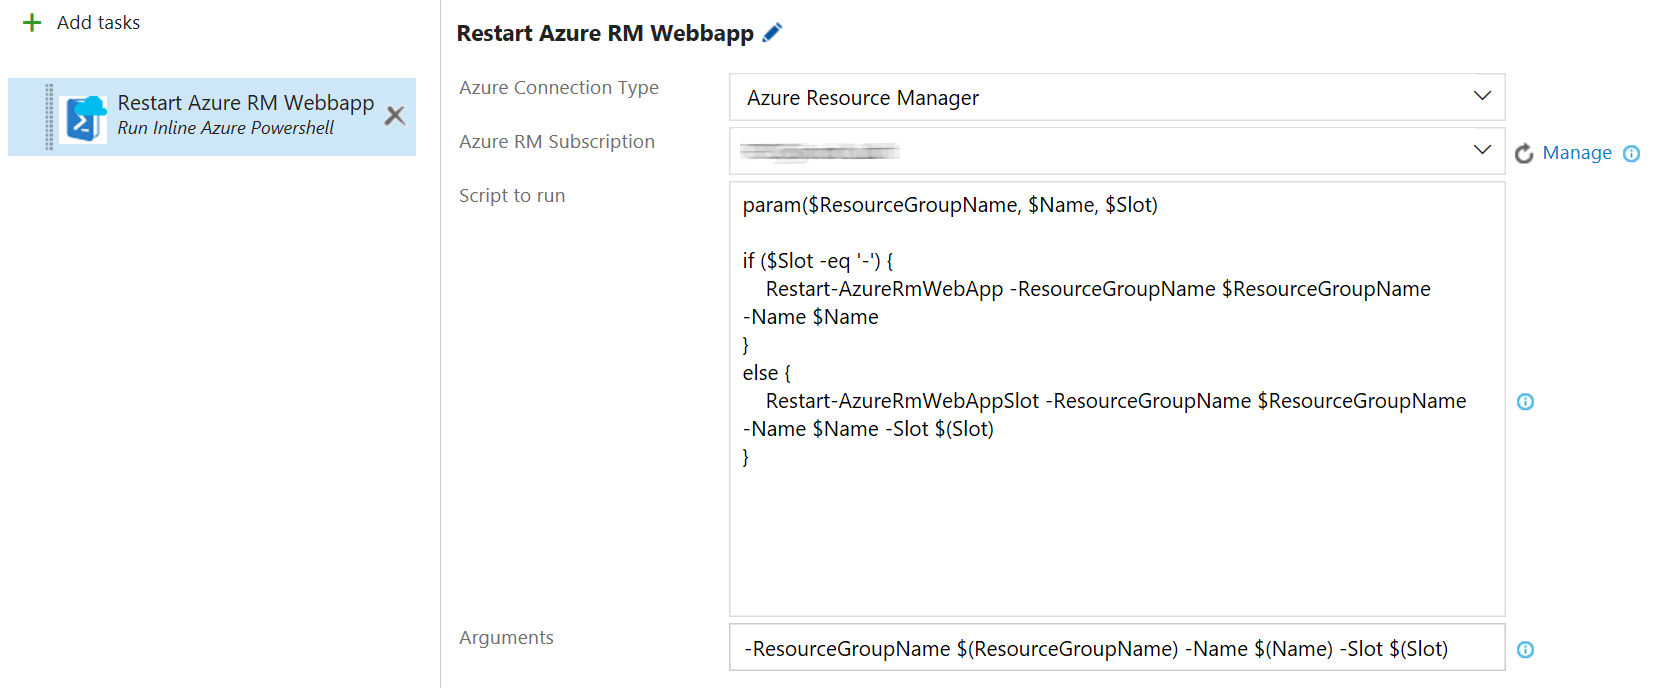
All configuration variables, the ones named like $(abc), that are present in the tasks of a task group are put as input parameters of the task group, each with a configurable default value and description.
Task groups are great because they are so easy to make, but have the drawback of only being available in the team project where they are created.
Implementing Custom Tasks in VSTS
If you intend to share your tasks between several team projects or even accounts, your best option is to implement a custom task. Tasks in VSTS are made up of a command executable and a task manifest. The executable can be either a full blown command line application, or a simple PowerShell script. The task manifest is a json-file that contains some metadata such as the task ID, a declaration of what the configuration GUI should contain, and how the executable is invoked.
Strangely, I have not been able to find any official documentation of how to fill in the task manifest json-file. But there is an active pull request with a schema that may be useful if you ever wonder what to write.
An easy way to get started is to copy one of the default tasks of VSTS, and modify it to your needs. Just remember to generate a new ID for your custom task!
The documentation of the VSTS DevOps Task SDK encourages you to write scripts for either the agent’s Node or PowerShell3 handlers.
Look at Microsoft’s reference tasks for guidance:
Or, if you want an old school PowerShell task without that much “SDK-noise” you can copy one of mine:
I think you will find that making your own custom tasks is quite straight forward.
Install Custom Tasks With tfx-cli
One way to install a task is to use the TFS Cross Platform Command Line utility (tfx-cli) in a Node.js command prompt:
npm install -g tfx-cli- This installs the tfx-cli tool.tfx login- The login is reused throughout the entire session.- Enter collection url >
https://yourname.visualstudio.com/DefaultCollection - Enter personal access token >
2lqewmdba7theldpuoqn7zgs46bmz5c2ppkazlwvk2z2segsgqrq- This is obviously a bogus token… You can add tokens to access your account at https://yourname.visualstudio.com/_details/security/tokens.
- Enter collection url >
tfx build tasks upload --task-path c:\path-to-repo\MyCustomTask- If you change your mind and do not want a task anymore, you can remove it with
tfx build tasks delete --task-id b8df3d76-4ee4-45a9-a659-6ead63b536b4, where the Guid is easiest found in the task.json of your task.
- If you change your mind and do not want a task anymore, you can remove it with
If you make a change to a task that you have previously uploaded, you have to bump its version before you upload it again.
Create Team Services Extensions
Another way to install a custom task is to package it inside an Team Services extension. You can read in the official documentation how to get started, or just follow these steps.
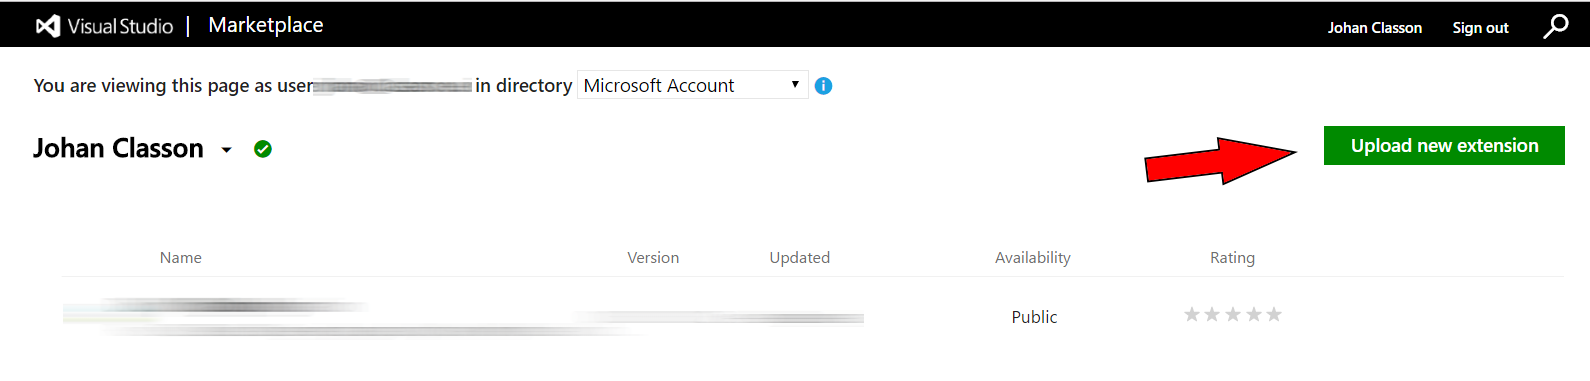
If you do not have a publisher id already, head over to the Visual Studio Marketplace Publishing Portal and create it in one of the Azure directories which are associated with your account.
Create an extension manifest-file with the name vss-extension.json, and with content like the following:
1 | { |
Then, run the command tfx extension create in a Node.js command prompt, and upload the generated .vsix-file in the publishing portal.
Or if you prefer, you can use the command tfx extension publish instead, and supply your personal access token.
If the "galleryFlags": ["Public"] setting is kept commented out, the extension will default to be a private extension, meaning that the extension will only be available in the collections you choose. Access to private extensions are managed through the publishing portal.
Once your extension is battle proven, be a good community member and make it public so that all can benefit from your work.